
Paint Handyman - On-Demand Repainting & Minor Works
Experts Painters in Sydney , Repairs & Property Maintenance
Interior & exterior repaints across the Shire. Free, fast on-site quotes today.
- Get a Quality Paint Finish
- Wall Repairs & Touch-Ups
- Roof & Fence Painting
- We Clean Up After Every Job
- Google ★★★★★ Rated by Locals

30+ Years of Painting Excellence
Why Locals in the Shire Trust Us
- Transparent pricing and free quotes
- Clear communication from start to finish
- Fully insured and police-checked
- We use premium Dulux & Taubmans paints only
- Weekend appointments available
Painting & Handyman Services
Quick, Clean & Reliable
Painted surfaces in your home can become chipped, scuffed, stained or outdated faster than you’d expect — especially in high-traffic areas. Instead of repainting your entire house, let Painters & Handyman Services handle the specific spots that need attention.
Our Minor Painting Services are ideal for touch-ups, small areas and targeted repainting, saving you time and money without compromising on quality.
One Day Painting Services
- Wall & Ceiling Touch-Ups
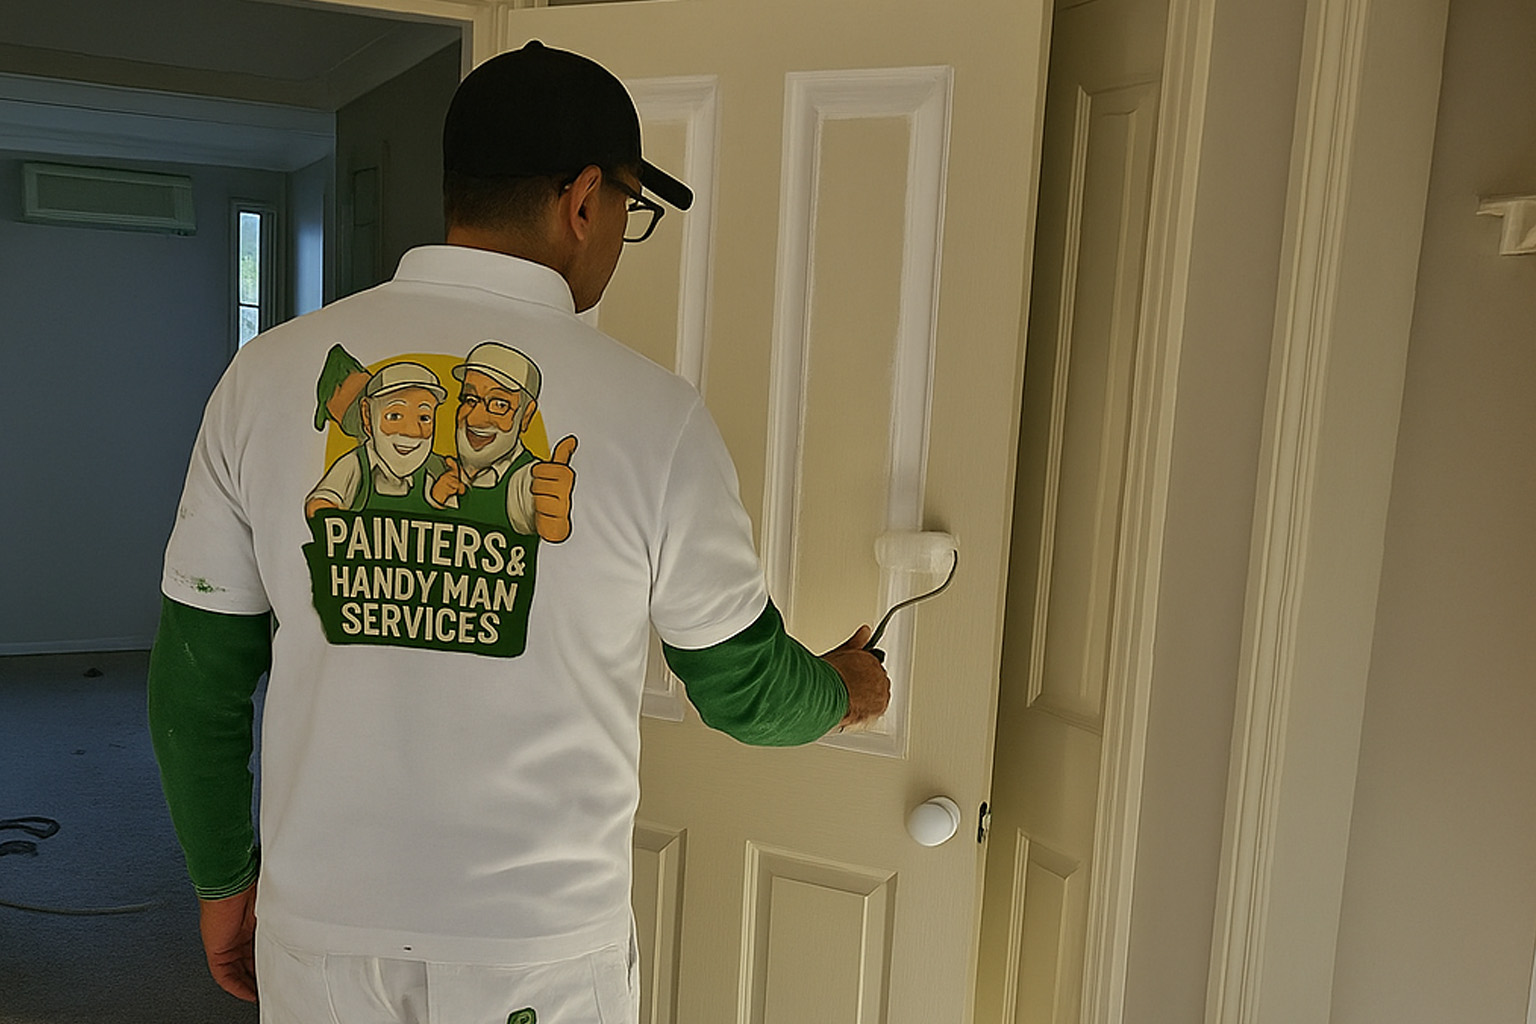
- Door & Frame Repainting
- Window Trims & Architraves
- Wall Repainting
- Fence Repainting
- Small Room Repaint
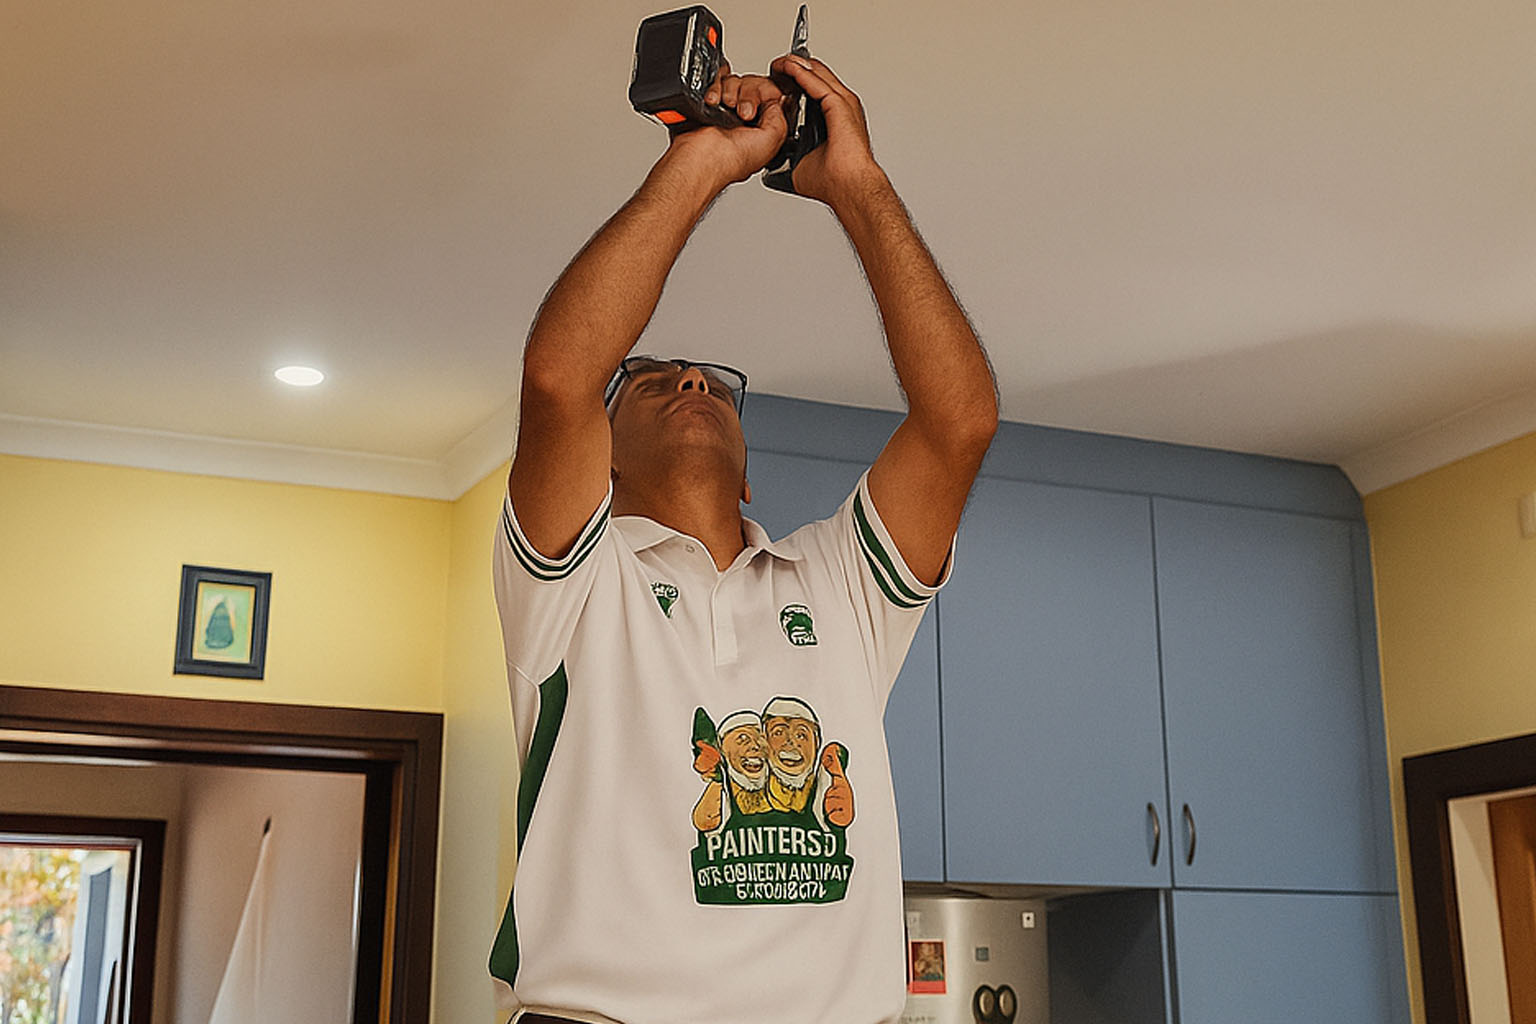
Small-Scale Carpentry
- Fix Install Shelving Units
- Kitchen Cupboards & Cabinet Doors Repair
- Door Jambs
- Built-In Storage Repairs
- Decking & Fencing Touch-Ups
- Timber Fascia or Trim Repairs
Minor Paint Renovations
- Bedroom Repainting
- Paint Kids' Bedrooms & Nurseries
- Master Bedrooms Fresh Coats of Paint
- Garage & Shed Painting
- Paint Kitchen Cabinets
- Cheap Laundry Room Painting
Kirrawee | Gymea | Engadine | Bangor | Menai | Caringbah | Miranda | Loftus | Jannali | Como | Taren Point
Based in Sutherland, servicing all of Sutherland Shire
Locally owned and operated
At Painters & Handyman Services , we’re not part of a faceless franchise or an out-of-area team, we’re Sutherland locals, living and working right here in the community we serve. From Gymea to Kirrawee, Miranda to Menai, we understand the homes, the people, and the standards expected in our area. That means quicker response times, more reliable communication, and workmanship you can trust, because we’re just around the corner painters near you.
On-time guarantee
We respect your time — and we prove it. At Painters & Handyman Services, we offer a genuine On-Time Guarantee. That means if we say we’ll be there at 10:00am, we’ll be there at 10:00am not “sometime between 9 and 1”. We know how frustrating it is to take time off work or wait around for a tradie who doesn't show up. That’s why punctuality isn’t just a promise it’s a core part of how we operate.
Use only Australian Standard paints and materials
Quality starts with the materials you choose. At Handyman Painters Services, we use only premium, Australian Standard–compliant paints and materials to ensure every job meets the highest performance and durability standards. Whether it’s a minor touch-up or a full exterior repaint, we select trusted products that are designed for Australian conditions, including heat, humidity, and coastal exposure — giving your surfaces long-lasting protection and a flawless finish.
Testimonials
As a property manager, finding reliable, responsive trades is hard but these guys are the best. Quick quotes, prompt service, and great work every time. My go-to for repairs and repainting. - Tina R, Local Property Manager, Kirrawee


Contact us today
Request Your Free On-Site Quote
Support local, hire local.
- (02) 8076 7663
- Caringbah NSW 2229
- Mon - Sat 7 AM - 8 PM